Needle Felting - Spring Easter Basket
- Posted on
- By Traci B and Gabby D
- 0
Here is a fun, "no glue no sew", method for making a spring/Easter basket using simple and economical craft felt, ribbon and a little bit of wire. A basic understanding of elementary school paper weaving will also come in handy.
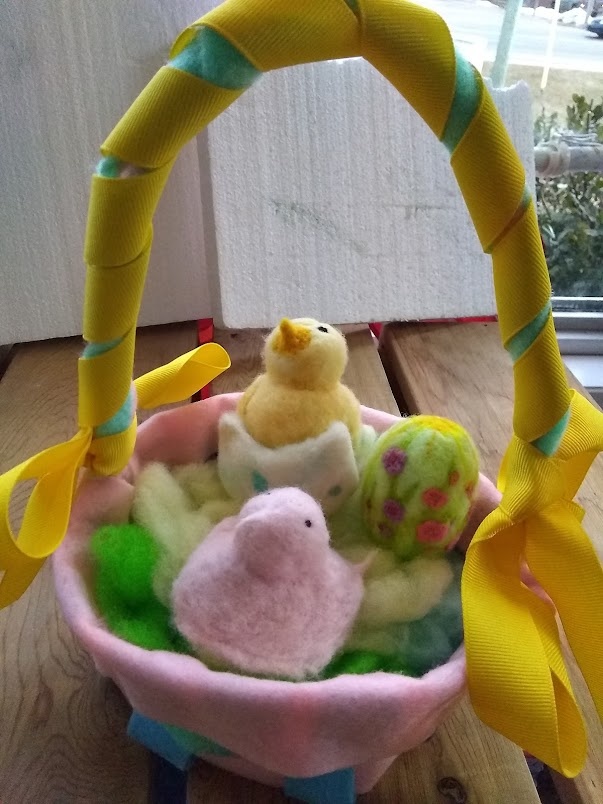
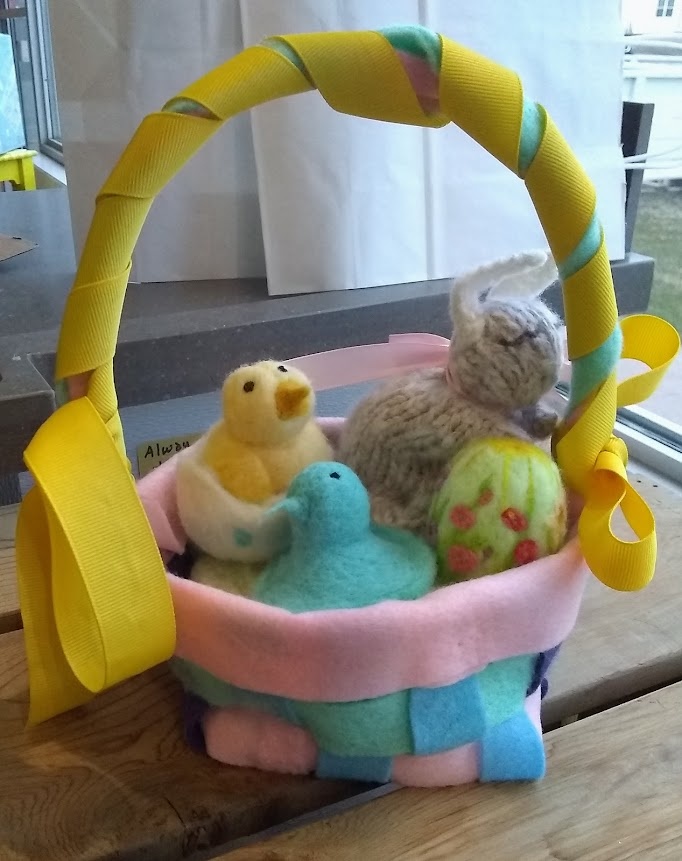
Needle Felted Easter/Spring Basket
Materials required:
At least 3-4 sheets of pretty spring coloured craft felt
Ribbon in colours of choice
Roll of fine gauge wire
Needle felting tool with fine gauge needles
Styrofoam ball for safety
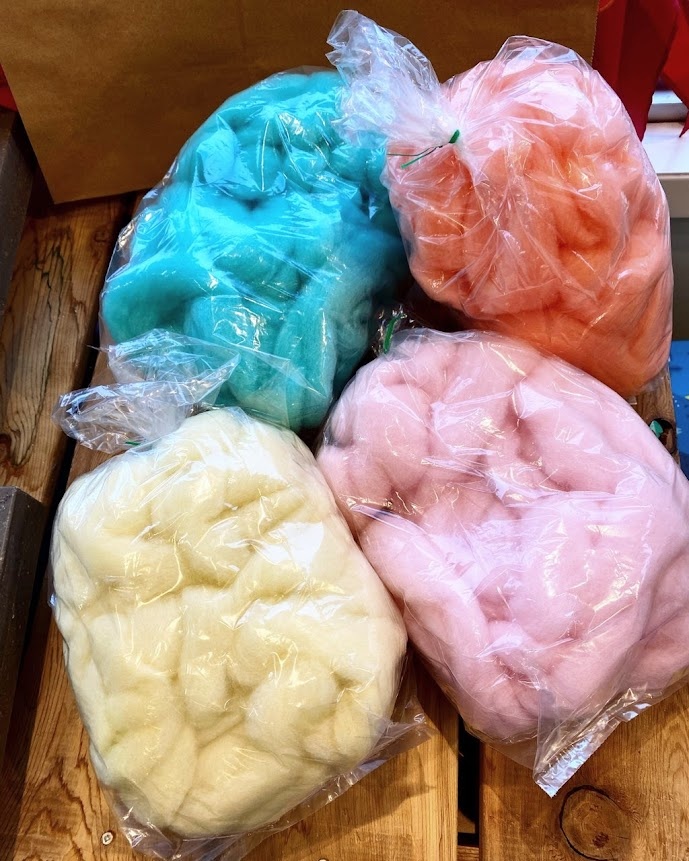
Paper grass or leftover pieces of fleece roving in pretty spring colours
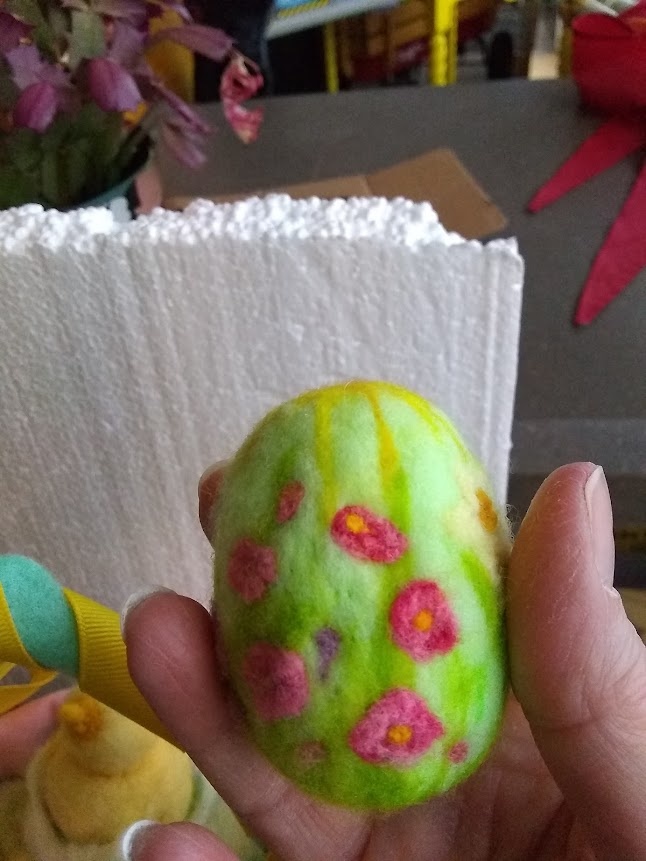
Embellishments as desired
Spring themed items for basket
Method:
Step 1:
Select colours of craft felt and cut into strips. You will get approximately 9-10 strips from one piece of craft felt.
Step 2:
Weave together alternate coloured pieces in a traditional under and over weaving pattern to form bottom. This is done just like elementary school paper weaving.
Step 3:
Take two strips in colours of your choice and needle-felt them together with about 1”/2.5cm of overlap. Then weave that piece all around the outside edge pulling the ends together to “lift” the sides of your basket up as demonstrated. Needle felt the ends that meet together with 1” overlap. Use a Styrofoam ball on the inside of the pieces you are felting to act as a surface to protect your fingers. Repeat this step several times until the top side vertical strips are about an inch longer than the horizontal strips. Make sure you keep each of your strips close together without any open spaces.
Step 4:
Fold down the inside all the overhanging vertical pieces, one at a time, and, working from the outside only, felt them to the insides of the basket. Don’t forget to use the Styrofoam ball for protection.
Step 5:
Take another two strips and needle felt them together at the ends same as before and fold this piece over the top edge all the way along the top as a final trim.
Step 6:
Make the handle. Take your roll of wire and measure off about 12-18" or desired length. Then take two strips of felt and wrap them, one at a time, around the wire. Secure the wire around the felt at each end as shown in video. Position handle on one side of basket and needle felt in place. Line it up evenly and needle in place on the opposite side.
Step 7:
Measure off desired length of ribbon and, beginning at one bottom end of handle, tie ribbon securely in place by making an attractive bow. Then wrap ribbon around the handle as shown in video until reaching the opposite bottom end of handle and secure it in place by tying another bow as demonstrated.
At this point your basket is complete. Other embellishments such as small bows or flowers could be added to the edge or sides of the basket, or another large bow could be added to the top of the handle.
Most of the materials used can be found at Owls Hollow in Charlottetown, PEI or online at https://www.owlshollow.com/felting/roving/needle felting/felt
Comments
Be the first to comment...